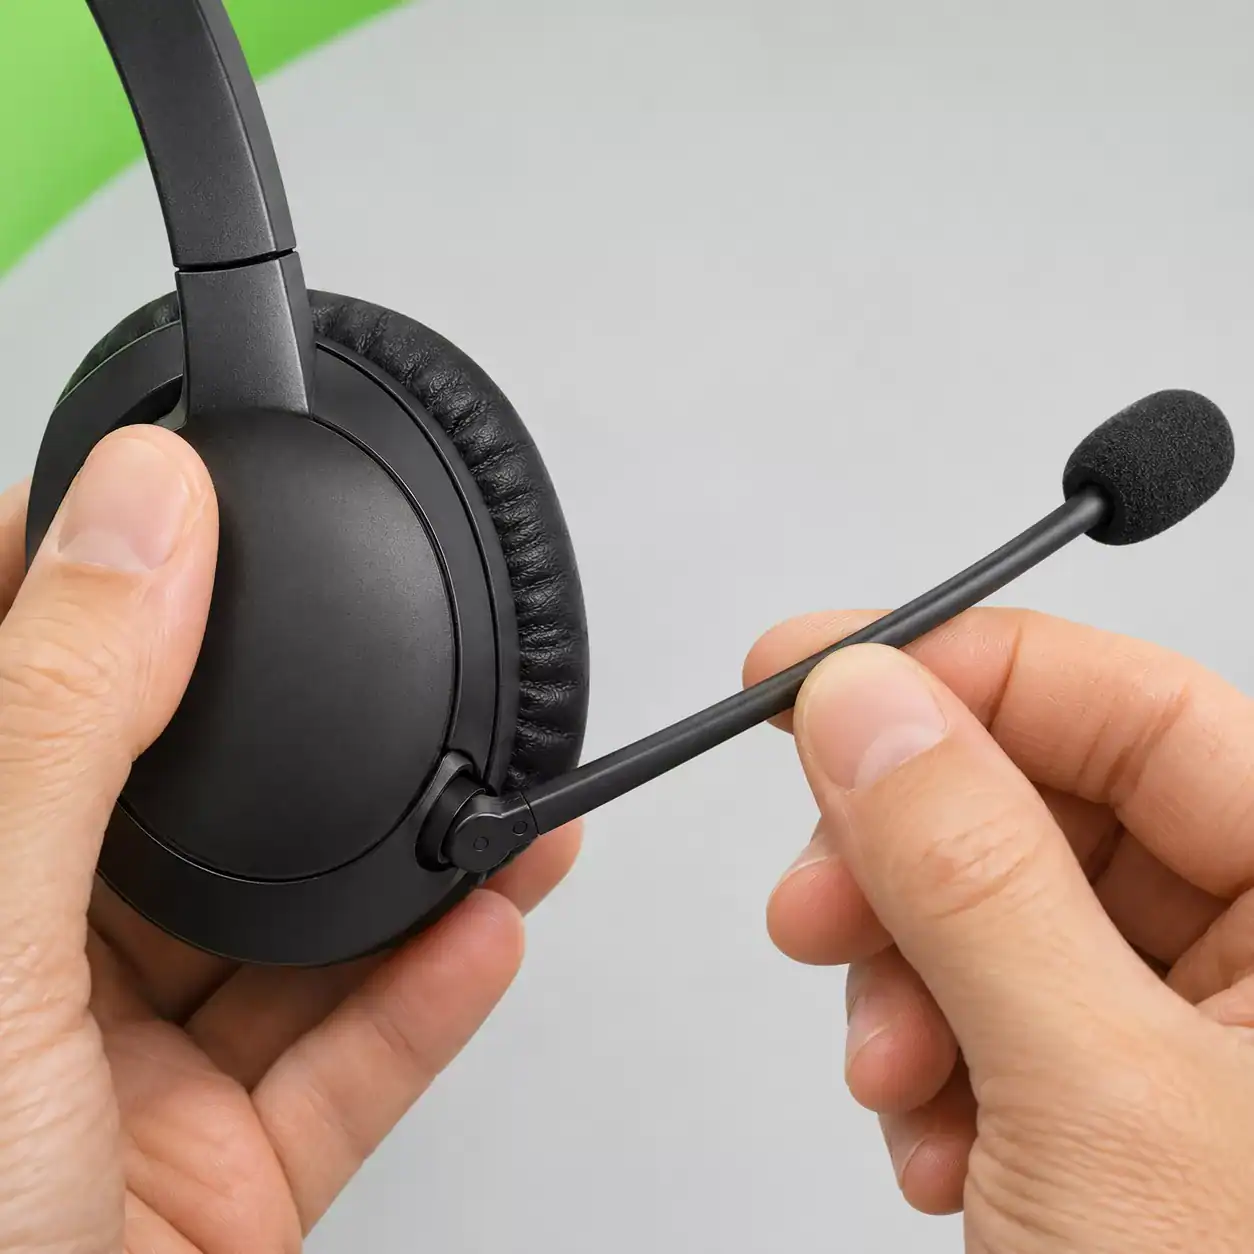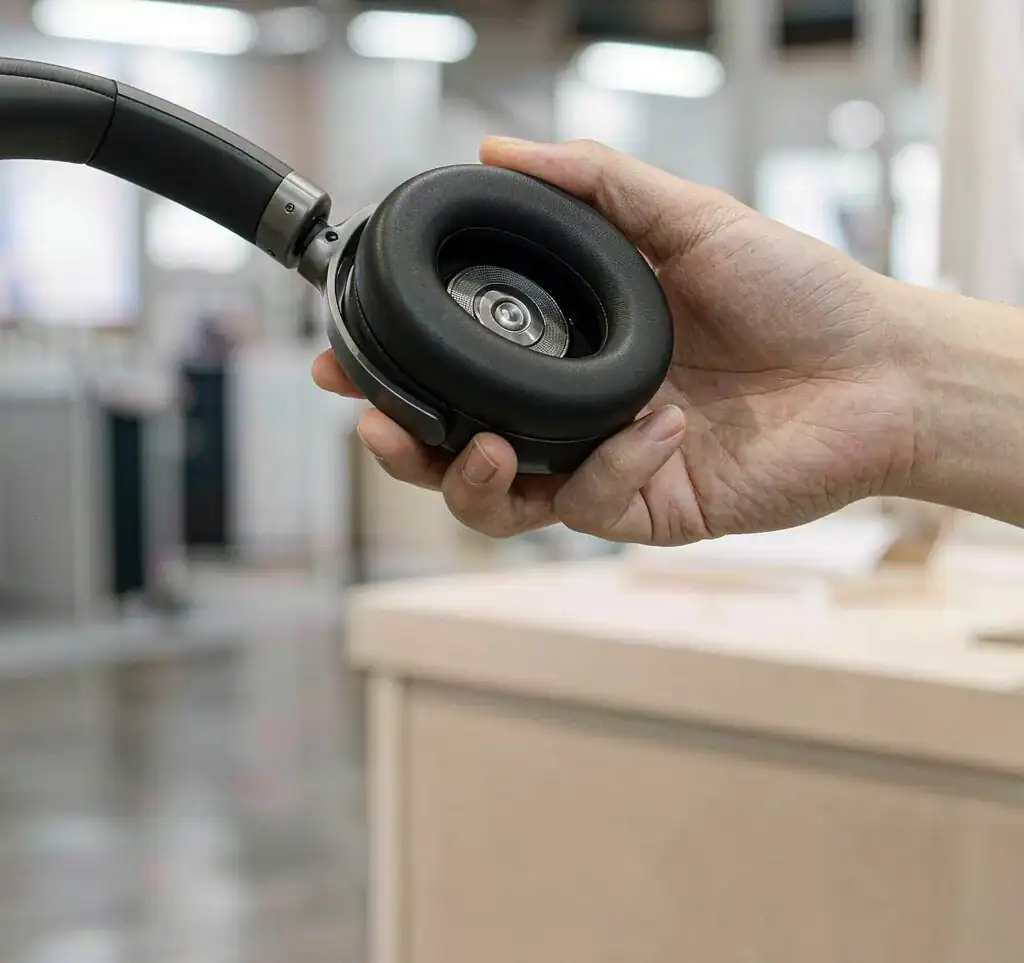
When sourcing office headsets, buyers often see the same model in two versions. One has a microphone on an arm that reaches toward the mouth. The other keeps its microphones on the earcup. The price gap is usually a few dollars. Which one to pick depends on who wears the headset, how long they spend on calls, and where they sit. The real difference between the two designs is the distance between the microphone and the mouth.
Check who will use the headset and for how long
Customer service and sales teams spend most of the day on calls, usually at desks in an open office. Every extra centimeter between mouth and microphone gives callers a reason to ask them to repeat, and that happens all day. Admin and design roles join short meetings and make few long calls, so portability and appearance weigh more for them.
Put those three facts into the purchase request. Without them, the factory cannot tell which structure to recommend.
A boom mic keeps the microphone next to the mouth
The closer the microphone sits to the mouth, the stronger the voice it captures and the weaker the room noise around it. The noise reduction circuit then has less work to do. This is a physical starting condition, and extra microphones cannot fully replace it.
A built-in microphone works differently. Several microphones on the earcup pick up sound at once, compare where the sound comes from, and keep the channel that matches the voice. That is enough in a quiet room. When someone keeps talking at the next desk, or the user walks outside into wind, there is little room left to correct the problem.
For a heavy call load in a noisy room, choose the boom.
A headset without a boom has one less part
There is no arm to swing into position and no joints to fold away. The headset slides into a bag without snagging, it looks discreet on the street, and one unit covers both the commute and the meeting room.
The tradeoff is a fixed position. When the user turns their head, the caller may hear the voice fade in and out. The outer earcup also faces the wind directly, so a call taken while walking outside is harder to clean up.
For short calls in a quiet room, with a headset that travels every day, the built-in design is the right choice. It is not a downgrade.
The boom arm wears over time, so look past the unit price
The arm carries moving joints and internal wiring, which makes it the most failure-prone part of the headset. Ask the factory two questions: how many bend cycles the arm passed in testing, and how a warranty claim on the arm is handled. If test data is not available, ask how spare arms are ordered and how long a replacement takes.
The built-in design has no moving part, but the sound inlet holes on the earcup collect dust and sweat. Once the holes block, voices turn muffled and users assume the headset is broken. Put the cleaning method and the service interval into the after-sales documentation.
The real cost of a headset includes all of this. Comparing unit prices alone hides the repair and replacement bills.
How to compare both samples fairly
Both structures can be tested on the same day once the samples arrive, as long as the conditions match.
Let each microphone sit where its design intends. Position the boom beside the corner of the mouth as the manual describes, and wear the boomless sample normally. Forcing the built-in version toward the mouth does not make the comparison fair.
Keep the voice source fixed. The same person sits in the same seat and reads the same passage at their normal volume. A different speaker or a different volume makes the recordings incomparable.
Keep the background fixed too. One speaker, one position, one volume setting, playing the same office noise, recorded separately for both headsets.
On playback, listen for two things: whether words get clipped, and whether sentence endings survive once the noise starts. The quieter sample is not automatically the better one. A unit that suppresses the voice along with the noise delivers the worst calls. The full recording procedure is described in our call quality test guide.
Put the requirements in the RFQ
Filling the user situation into a table makes the direction clear.
| Who uses it | Structure to choose | What to ask the factory |
|---|---|---|
| Open office, most of the day on calls | Boom, fixed or foldable | Arm adjustment range, bend test cycles |
| Hybrid work, scattered calls, frequent travel | Built-in, or a foldable boom | Dust protection at the inlet, wind noise outdoors |
| Mostly meetings in a quiet room | Built-in | Multi-mic performance in the actual meeting software |
| Customer service at shared desks | Boom with lift-to-mute | Whether lift-to-mute works with the meeting software |
Then write the RFQ as a sentence instead of a product name. For example: office use, most of the day on calls, the headset must pick up only the wearer's voice and must not carry the neighbor's speech, and the microphone position must be adjustable.
Send Sonun the user roles, the daily call hours, and the room conditions. We will recommend a structure for that scenario and attach the matching recording test conditions when the samples ship.